Sidewinder Rebuild
Posted by Joe
|
Re: Sidewinder Rebuild August 23, 2010 03:50AM |
Registered: 13 years ago Posts: 19 |
|
Re: Sidewinder Rebuild August 24, 2010 03:35PM |
Registered: 13 years ago Posts: 4 |
|
Re: Sidewinder Rebuild August 25, 2010 12:22AM |
Registered: 13 years ago Posts: 78 |
No I haven't Patrick. I'm going to run it like it is, although they are showing some ragged edges. This might be something for next season depending upon how much water I get in.
If your looking to replace yours, you might check the closest big city and see if there is a gasket or rubber hose place in town. I think it's just a couple of strips of 1/16" or 1/8" thick rubber. The worst part would be successfully removing all the screws without breaking any off.
Joe
Sidewinder #327
|
Re: Sidewinder Rebuild August 30, 2010 12:37AM |
Registered: 13 years ago Posts: 78 |
Here's a bit of an update. One thing I realized was I needed to make a list of all the small things I had left to do. Then I assigned each item a number to prioritize them. My list ended up being about 11 different things. Some small, some more time consuming. I was able to work a few of the items on the list this weekend.
Here is what got accomplished......
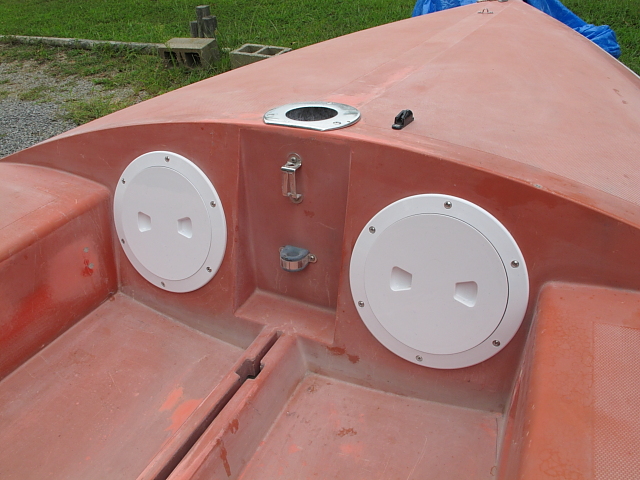
Hatch covers installed and sealed with silicone RTV. Along with the remaining strap holes repiared.
[www.sailmfg.com]
[www.sailmfg.com]
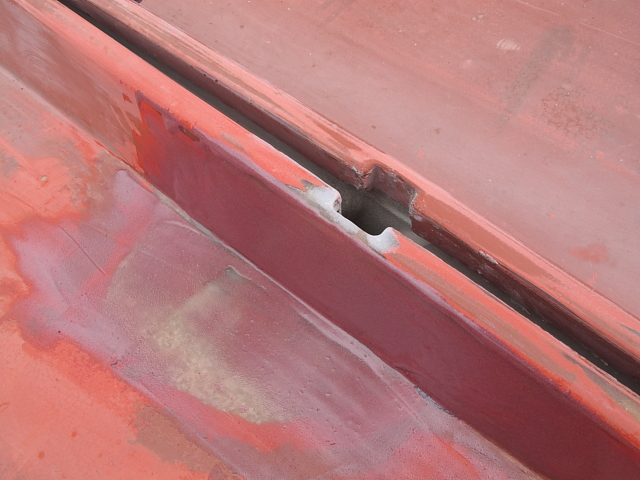
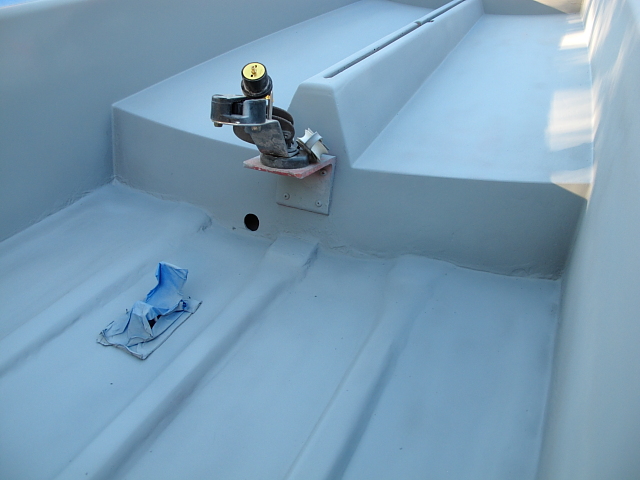
I was able to nearly finish the repair to the center board socket. All thats left is a bit of sanding and paint.
[www.sailmfg.com]
[www.sailmfg.com]
[www.sailmfg.com]
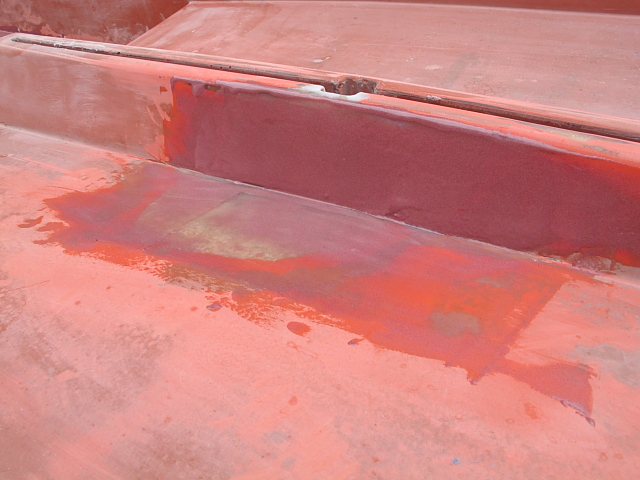
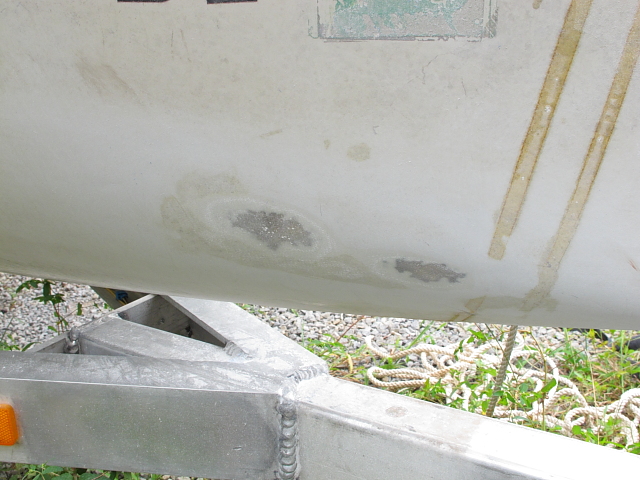
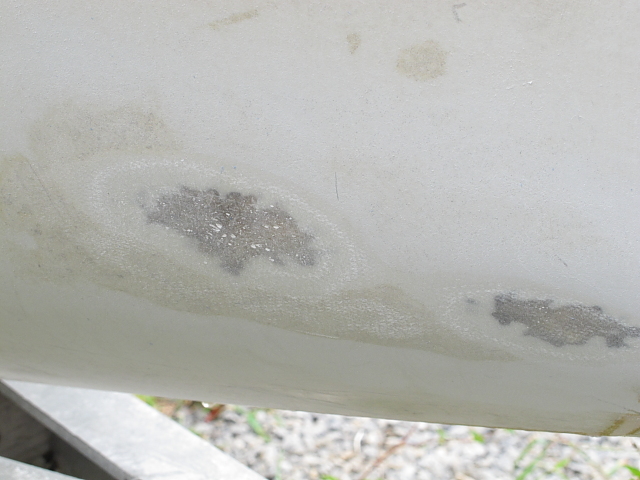
I repaired an area near the bow on the hull where the gelcoat had cracked so bad it began to chip away. I ground the area until I was down to good fiberglass. The same as on the centerboard socket repair, but not nearly as extensive. It only required two layers of cloth for the repair. It still needs some fairing mix and some sanding. BTW This repair rendered her "Sealed and ready to sail!!!"
[www.sailmfg.com]
[www.sailmfg.com]
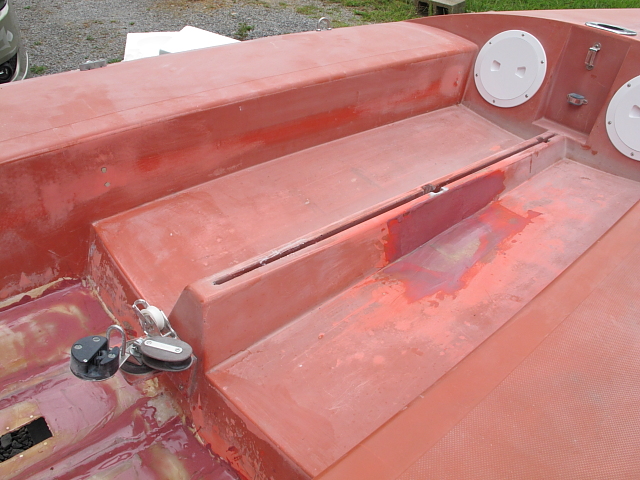
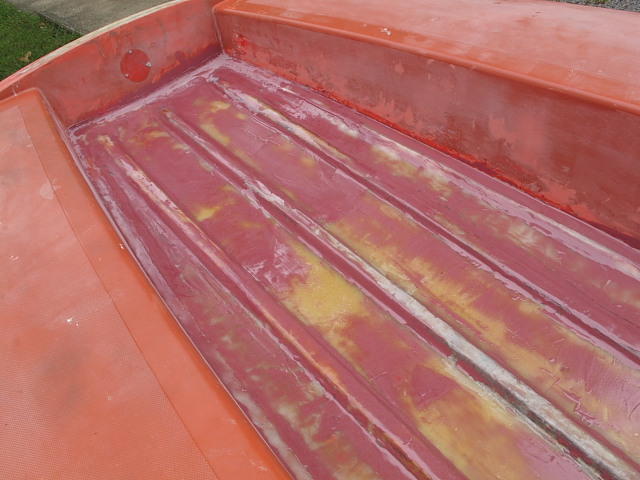
The floor was sanded and a fairing mixture was put on to fill in irregularities. This mixture is a little easier to sand then straight resin and fills in low spots pretty well. I may have to use a few progressively thinner coats with sanding in between. This is where I need to decide what is "good enough". This is a problem I've dealt with all my life.
[www.sailmfg.com]
Anyone with advice about automotive paint at this stage would be greatly appreciated. I do have access to a spray gun and was thinking of two part automotive paint.
Joe
Sidewinder #327
Here is what got accomplished......
Hatch covers installed and sealed with silicone RTV. Along with the remaining strap holes repiared.
[www.sailmfg.com]
[www.sailmfg.com]
I was able to nearly finish the repair to the center board socket. All thats left is a bit of sanding and paint.
[www.sailmfg.com]
[www.sailmfg.com]
[www.sailmfg.com]
I repaired an area near the bow on the hull where the gelcoat had cracked so bad it began to chip away. I ground the area until I was down to good fiberglass. The same as on the centerboard socket repair, but not nearly as extensive. It only required two layers of cloth for the repair. It still needs some fairing mix and some sanding. BTW This repair rendered her "Sealed and ready to sail!!!"
[www.sailmfg.com]
[www.sailmfg.com]
The floor was sanded and a fairing mixture was put on to fill in irregularities. This mixture is a little easier to sand then straight resin and fills in low spots pretty well. I may have to use a few progressively thinner coats with sanding in between. This is where I need to decide what is "good enough". This is a problem I've dealt with all my life.
[www.sailmfg.com]
Anyone with advice about automotive paint at this stage would be greatly appreciated. I do have access to a spray gun and was thinking of two part automotive paint.
Joe
Sidewinder #327
|
Re: Sidewinder Rebuild September 12, 2010 05:23AM |
Registered: 13 years ago Posts: 78 |
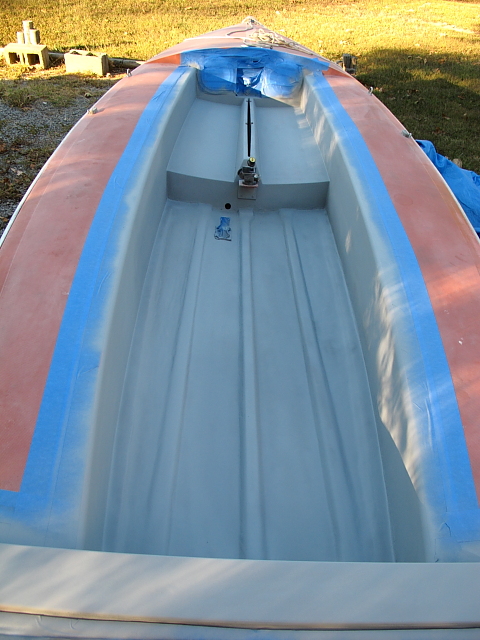
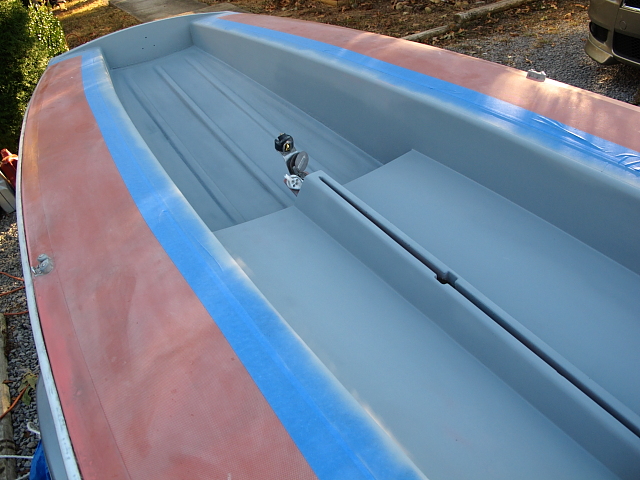
Not too much going on with the boat lately, but here's the latest.
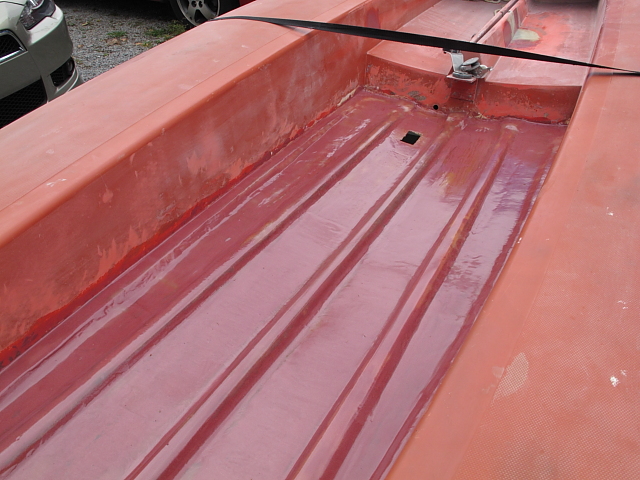
The cockpit needs one more sanding then sealed with straight resin. Primer and paint. Here's the latest pics from todays work...
[www.sailmfg.com]
[www.sailmfg.com]
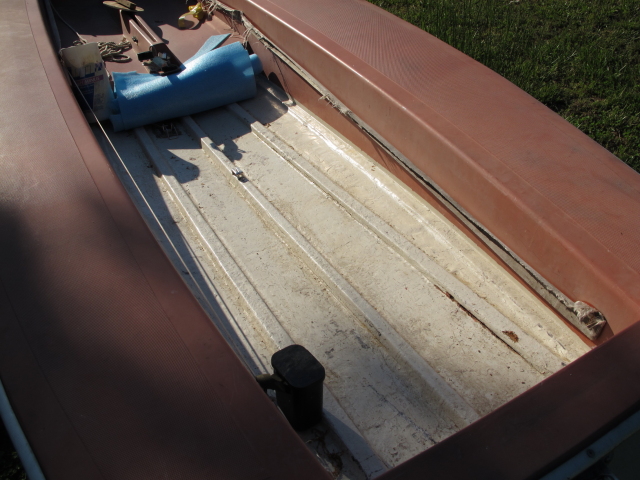
I believe I've finally convinced myself what is good enough for the floor. Especially when looking back at the original....
[www.sailmfg.com]
This really needs to get in the water soon since there have been more windy days as of late.
Joe
Sidewinder #327
The cockpit needs one more sanding then sealed with straight resin. Primer and paint. Here's the latest pics from todays work...
[www.sailmfg.com]
[www.sailmfg.com]
I believe I've finally convinced myself what is good enough for the floor. Especially when looking back at the original....
[www.sailmfg.com]
This really needs to get in the water soon since there have been more windy days as of late.
Joe
Sidewinder #327
|
Re: Sidewinder Rebuild October 07, 2010 04:55AM |
Registered: 13 years ago Posts: 78 |
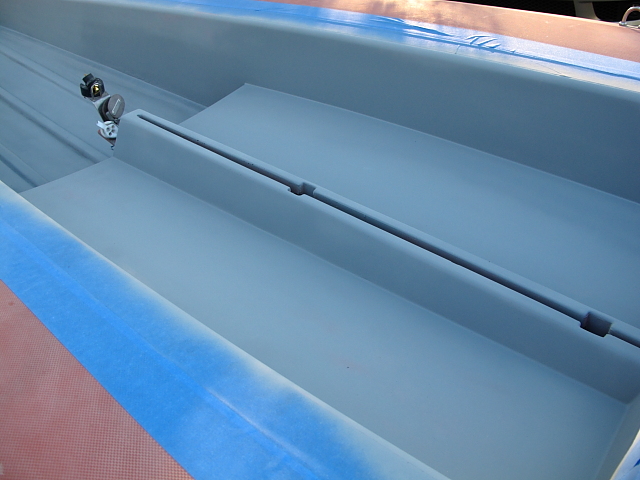
I know it's been awhile but here is the latest on my Sidewinder. I primed the cockpit to prep it for paint.
[www.sailmfg.com]
[www.sailmfg.com]
[www.sailmfg.com]
I'm particularly happy with this repair.....
[www.sailmfg.com]
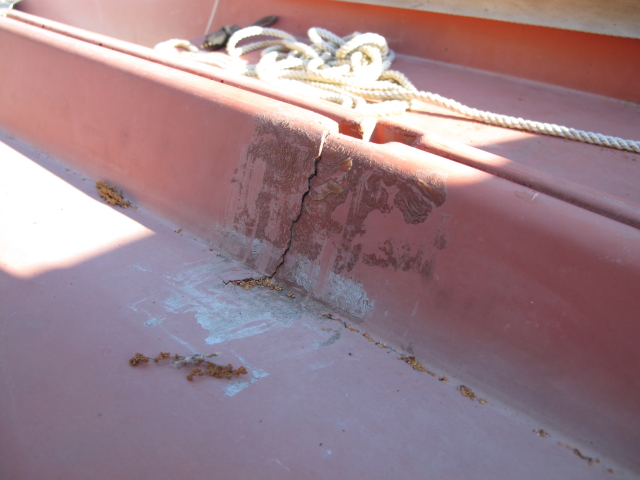
Remember the begining?
[www.sailmfg.com]
I'm pretty happy with it, but I'm sure it will end up being a 10' repair and paint.(Looks good at 10')
Now to decide on a color, although I'm liking the gray cockpit color.
Joe
Sidewinder #327
[www.sailmfg.com]
[www.sailmfg.com]
[www.sailmfg.com]
I'm particularly happy with this repair.....
[www.sailmfg.com]
Remember the begining?
[www.sailmfg.com]
I'm pretty happy with it, but I'm sure it will end up being a 10' repair and paint.(Looks good at 10')
Now to decide on a color, although I'm liking the gray cockpit color.
Joe
Sidewinder #327

Sorry, only registered users may post in this forum.